One of our core design philosophies with Reflow is to get you started fast and keep you moving during configuration with an intuitive, straight-forward interface. In this article, you'll learn how to install Reflow on your Niagara 4 station and the different ways to access the Reflow and Configuration views.
To get started, head over to the Reflow page and download the module.
Update June 15, 2020 – Reflow is now available to the general public and this article has been updated with instructions for the final release.
Installing the modules
- Unzip the Reflow download, you should have 2 JAR files:
nmodsreflow-rt.jarandnmodsreflow-ux.jar - Copy the JAR files over to your Niagara modules directory. This folder is typically found at
C:\Niagara\Niagara-4.x.x\modules - If Workbench is open, close it and relaunch
- If you have a local station running in the background, be sure to restart it
Adding Reflow to your station
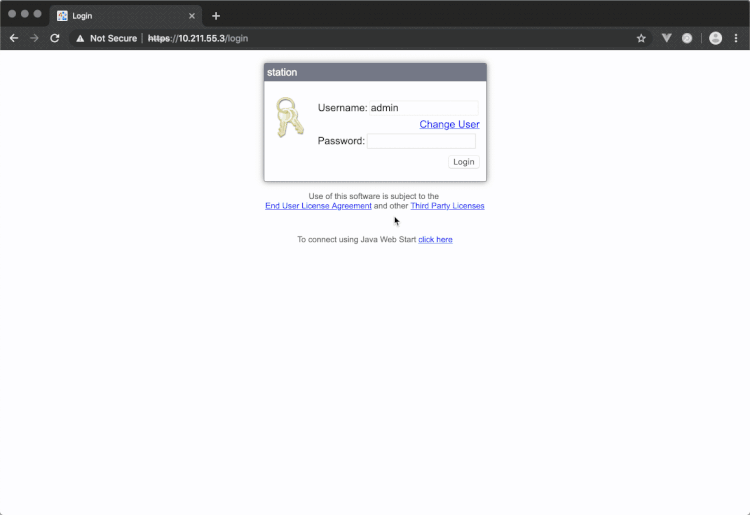
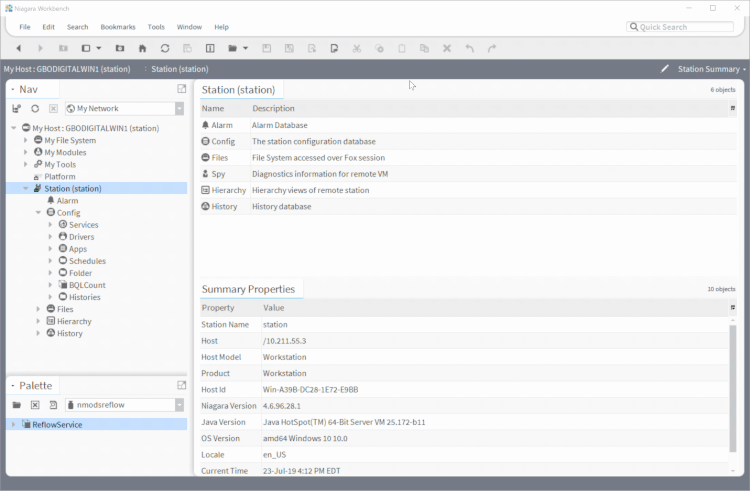
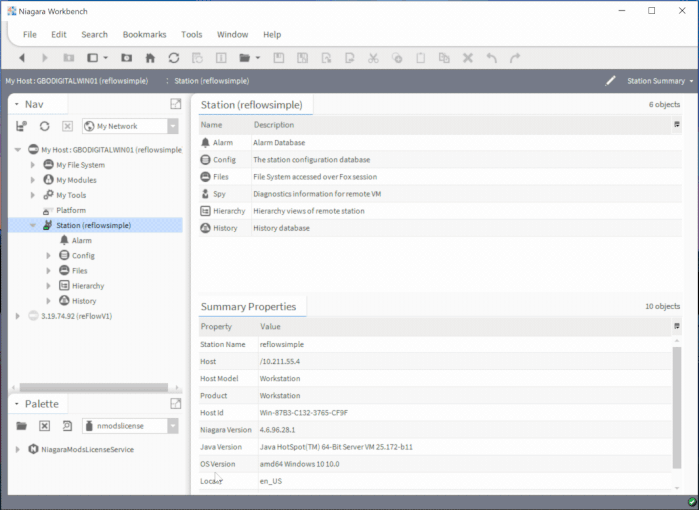
- Connect to your station in Workbench
- Open the
nmodsreflowpalette and drag theReflowServicecomponent to your station tree under theConfig -> Servicesitem - Double-click on the
ReflowServicecomponent in your station tree to see the Reflow view in Workbench - To access the configuration view, click on the view dropdown named
Reflowi nthe top corner of the view and selectReflow Config
Accessing the Reflow View
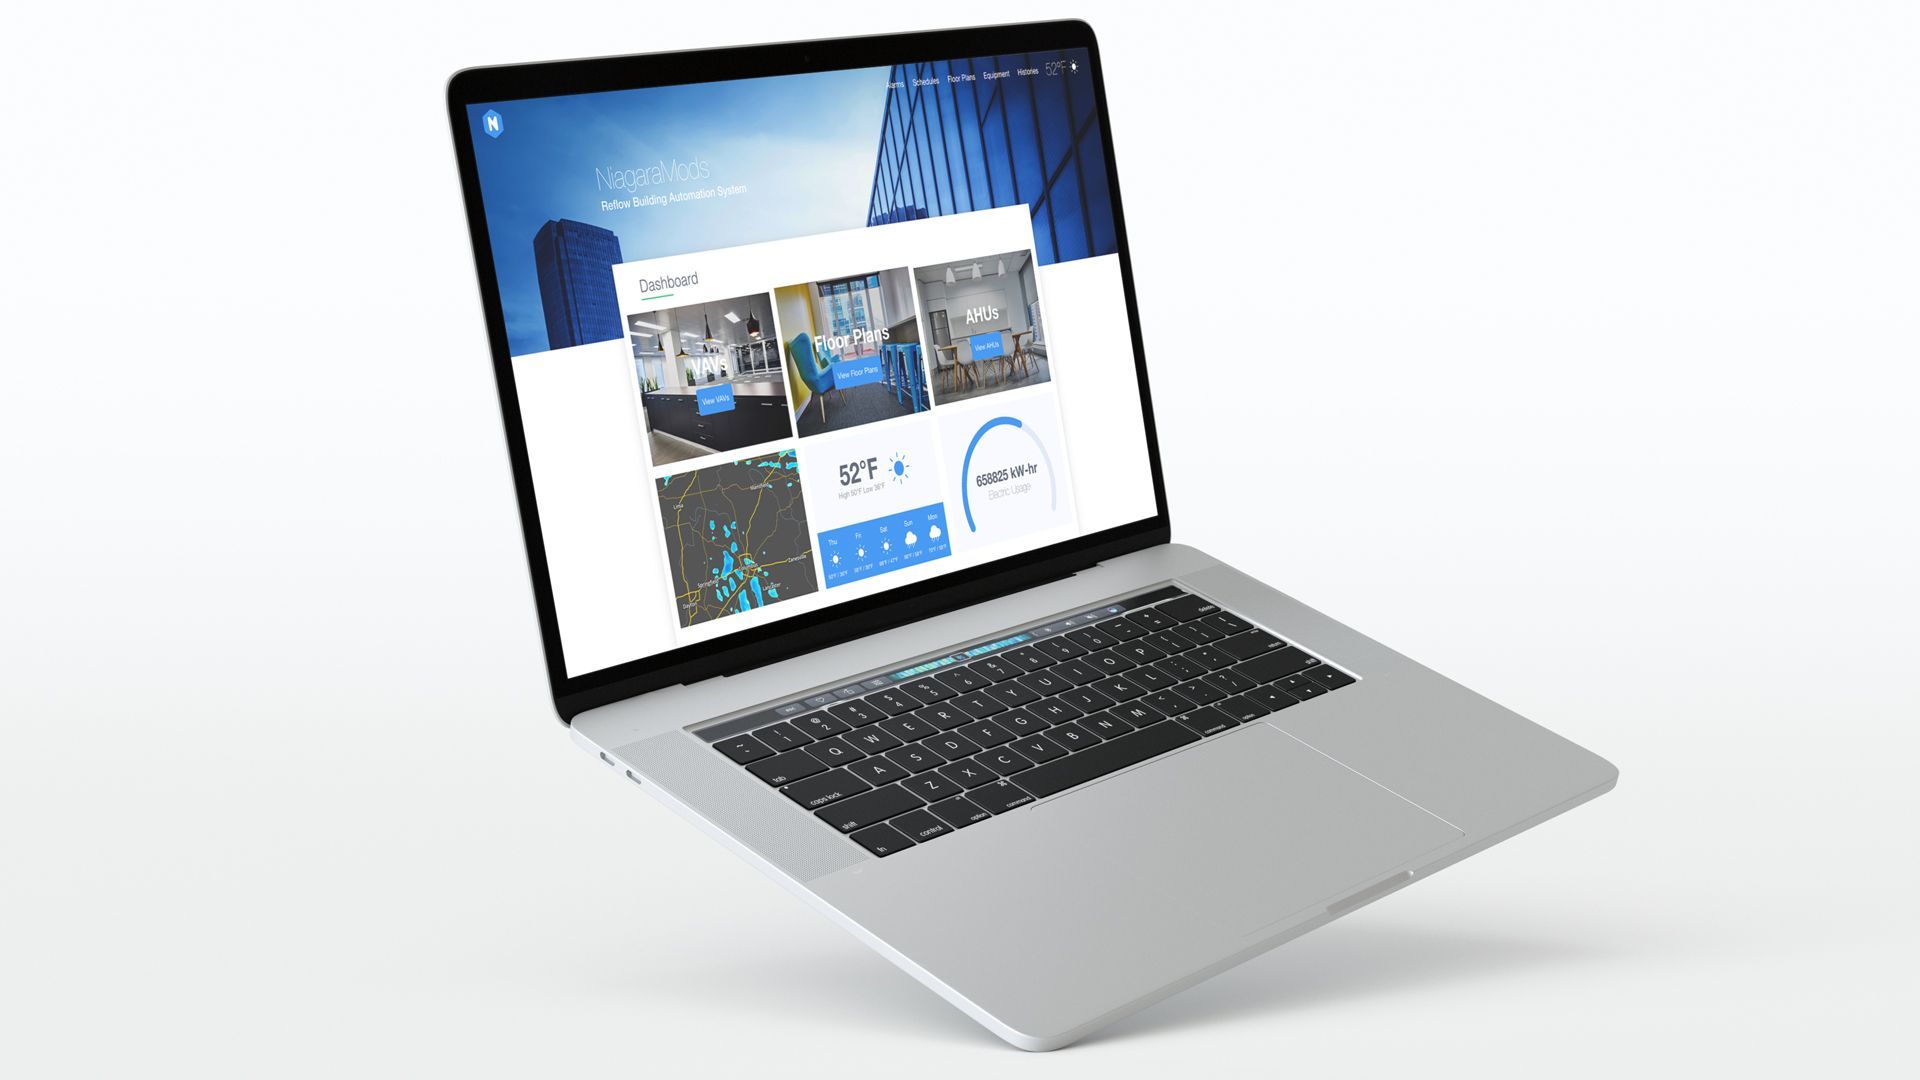
The Reflow View is built for your end users and customers, it's what they will see when they access their system and it's what you'll be setting up when you're in the Config View
Users can open the Reflow View in the same way they would access any Niagara component, via Workbench or the Niagara web-based user interface. In addition to the traditional methods, the Reflow View can be accessed via a special servlet view.
Because the Reflow offers a superior mobile and desktop experience, we recommend using the servlet view for your customers and end users.
Reflow View Servlet
The Reflow View will be served to logged in users who visit https://<station-ip-or-hostname>/nmodsreflow. This view is fully functional and offers the superior experience to users who are not familiar with Niagara. We recommend serving this view to users immediately after they log in to Niagara – which we cover later in the article.
Because the servlet view can utilize the entire web browser, hiding the default Niagara web interface, it looks and feels like a stand-alone experience – especially on mobile.
Niagara Web UI
The Reflow View can be accessed through the traditional Niagara web-based user interface by for users that connec to the station with their web browser. Simply navigate through the station tree and double-click on the ReflowService component.
With this method, the rest of the Niagara system will be accessible to the user – which could be positive or negative depending on their needs.
Workbench
The Reflow View is fully functional inside of Workbench as well – you can be sure Reflow supports every way your customers are used to working in Niagara. Access the Reflow View in Workbench by navigating to the ReflowService component in the station tree and double-clicking.
Accessing the Config View
The Config View is the tool you use to setup your Reflow experience – everything in the Reflow View is customized here. You'll notice a preview of your Reflow View on the right, and a configuration menu on the left. Stay tuned to our blog for a series of articles and videos that take a deep dive in to the massive amount of custom configuration options to choose from.

Access the Config View from the traditional view menus including by right-clicking on the ReflowService component and selecting View -> Reflow Config or by clicking the view drop down on the right hand side of Workbench and swapping from Reflow to Reflow Config.
We recommend using the Niagara Web UI for configuration as you'll see better performance and have more screen real estate to work with in your web browser vs. Workbench. That isn't to say you couldn't do everything in Workbench, it will just be a tad slower and you'll have less room on your screen. The Config View is not supported in servlet mode.
Setting a user's home to the Reflow View servlet
If you want your user to be taken directly to the Reflow View servlet (which we recommend) when they login, you can use the built-in Reflow Redirect View. The Redirect View is a special view that will automatically redirect the user to the servlet if they login to Niagara from a web browser. If a user logs in with Workbench they will see the normal Workbench-based Reflow View.
Set the user's nav file to the ReflowService and be sure to select the Reflow Redirect view in the settings. See example below.
Wrapping up
I hope this article was helpful in quickly getting you up and running with Reflow. Now for the exciting part: customizing the views to give your customers an unmatched experience with their BAS – the first in that series is Branding Made Easy In Niagara with Reflow and stay tuned for more articles and guides on customization coming soon.
